Drone CI/CD
中文請看這篇: 利用Gitlab結合Drone輕鬆實現CI/CD
- Official Website
- https://ithelp.ithome.com.tw/articles/10223273
- https://docs.drone.io/server/provider/gitlab/
- Official Example
I will introduce how to use Drone with Gitlab to do CI/CD.
Goal
In this article, you can learn the topic as follows:
- Set up a Linux Drone server and a Linux Drone runner (client)
- Set up a simple CI process via Drone.
- Use a Docker image to do a CI process.
- Achieve to control docker-compose during a CI task.
- How to send the notification?
- How to apply the plugin such as the ssh plugin to do CD things?
- How to set a varialbe and use it in the script/command area?
-
How to control different runners? -
Set a Windows runner and specify to use it.
Installation
Docker pull
docker pull drone/drone:2Set up an application for drone on Gitlab

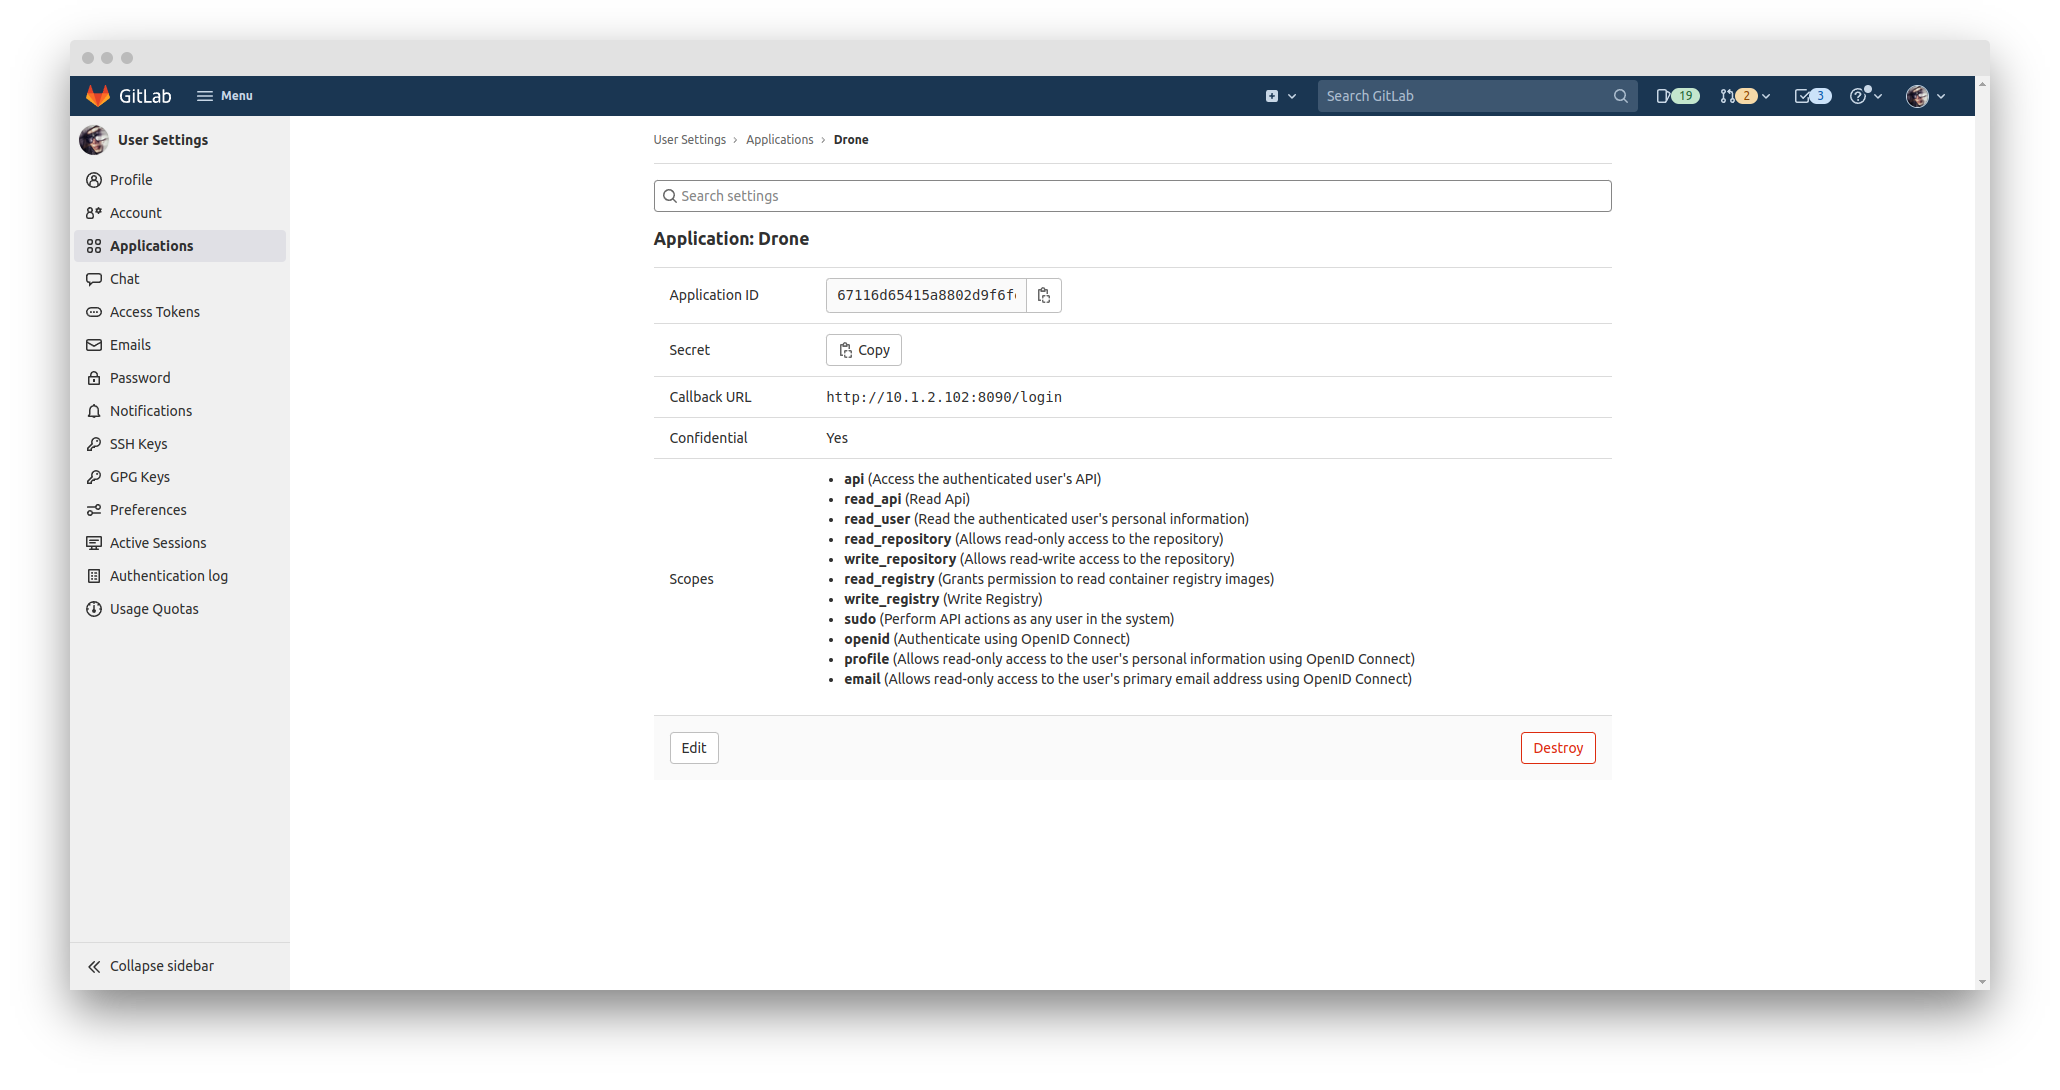
Then we can get the
Application IDandSecret.Please notice the Callback URL :
http://10.1.2.102:8090/login.Create a docker-compose file.
We can use docker-compose file to start it.
docker-compose.ymlversion: '2'
services:
drone-server:
image: drone/drone:2
container_name: cicd-server
ports:
- 8090:80
extra_hosts:
- "10.1.2.102:10.1.2.102"
volumes:
- /var/lib/drone:/data
- /var/run/docker.sock:/var/run/docker.sock
restart: always
environment:
- DRONE_GITLAB_SERVER=http://10.1.2.110:5567/
- DRONE_GITLAB_CLIENT_ID=67116d65415a8802d9f6feac7dc74bec50bf421de9835a2f21aa6afae4053960
- DRONE_GITLAB_CLIENT_SECRET=1c519747c23289f25631a8bfb9fafddf16174d14e0ff2143fa0e02afcf964f2a
- DRONE_GIT_ALWAYS_AUTH=true
- DRONE_RPC_SECRET=super-duper-secret
- DRONE_SERVER_HOST=10.1.2.102:8090
- DRONE_SERVER_PROTO=http
- DRONE_USER_CREATE=username:chieh1,admin:true
drone-runner:
image: drone/drone-runner-docker:1
container_name: cicd-runner
restart: always
depends_on:
- drone-server
volumes:
- /var/run/docker.sock:/var/run/docker.sock
environment:
- DRONE_RPC_PROTO=http
- DRONE_RPC_HOST=10.1.2.102:8090
- DRONE_RPC_SECRET=super-duper-secret
- DRONE_RUNNER_NAME=my-first-runner
Note: You can create Administrators account by - DRONE_USER_CREATE=username:(your gitlab account name),admin:true
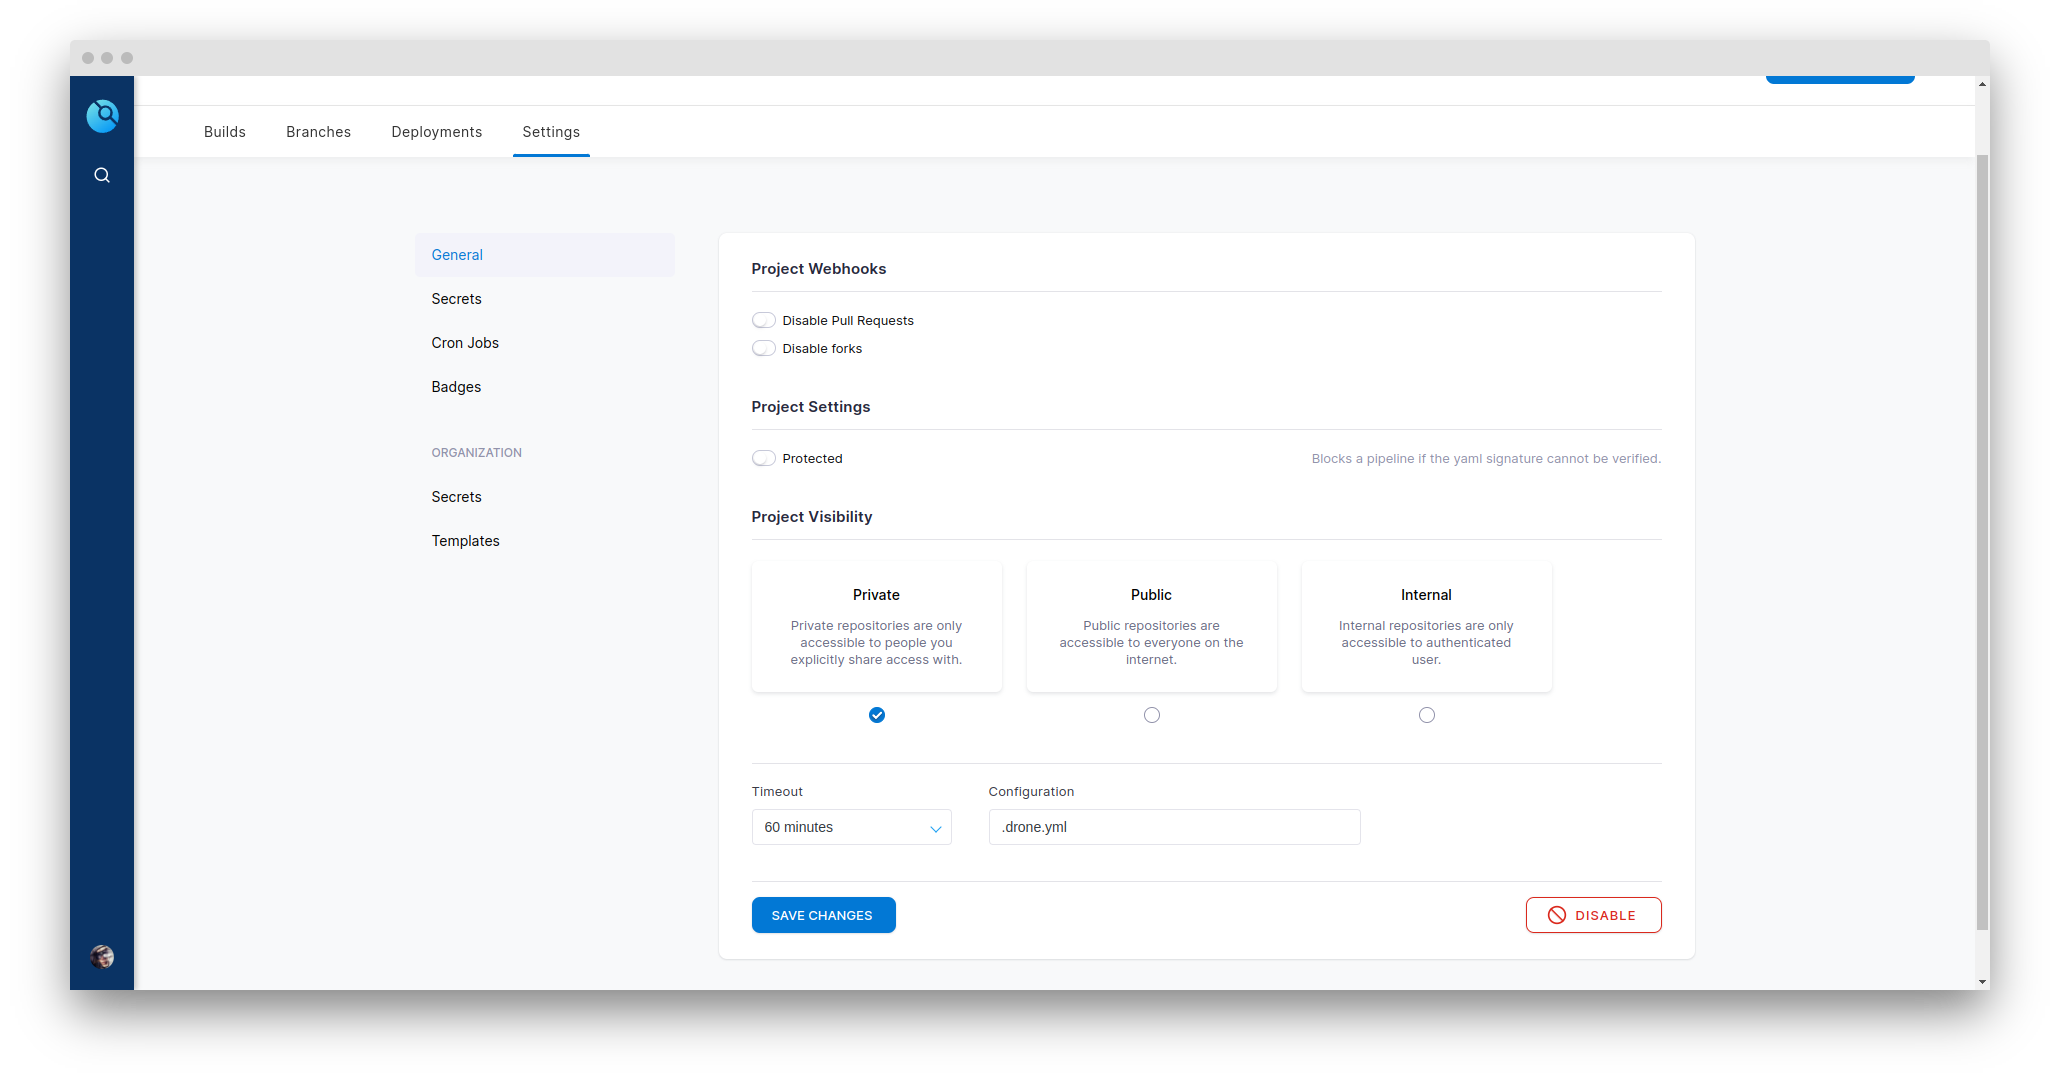
Then you can unlock more setting in the Settings page.
For example, you will find more options in the Project Settings area.
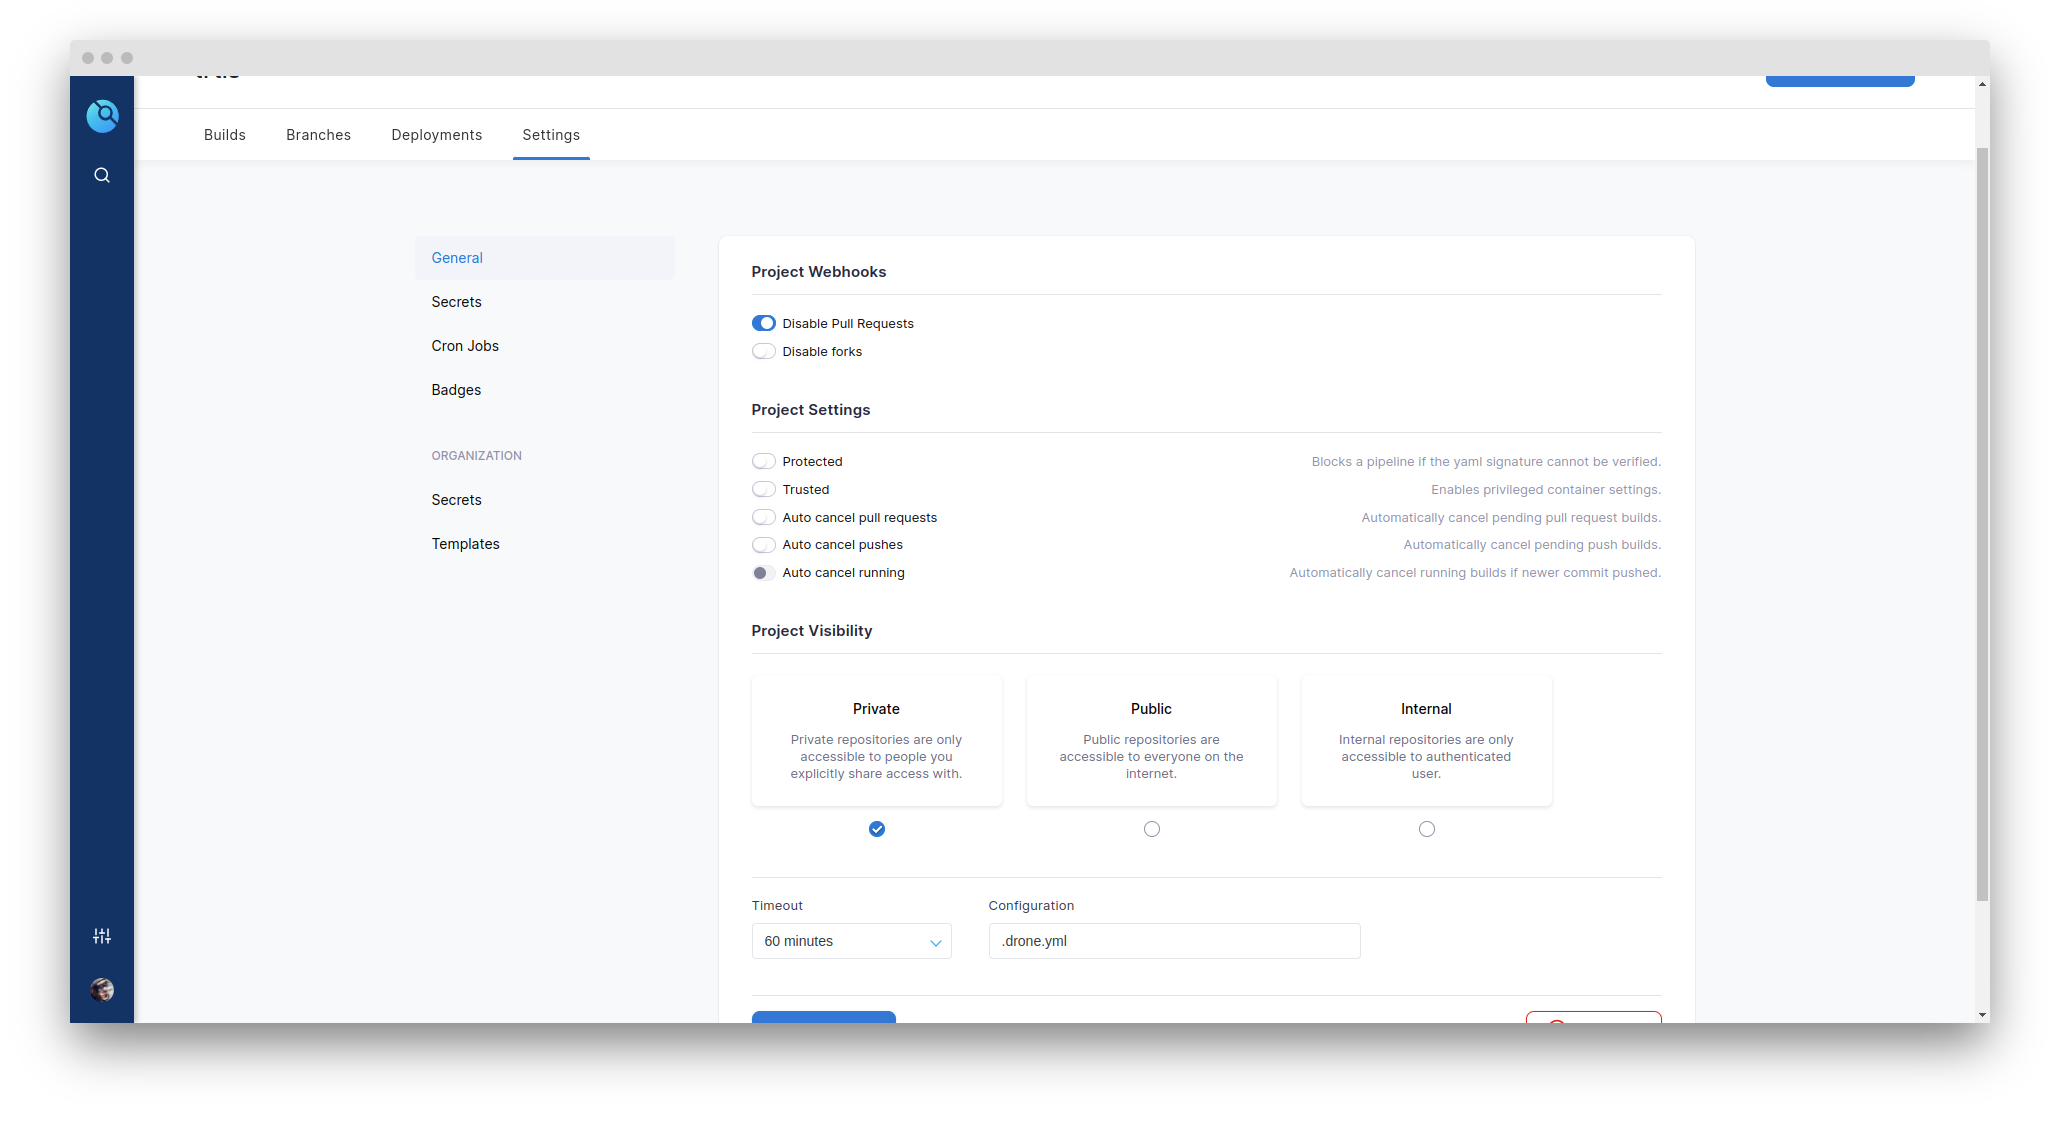
You have to turn on the "Trusted" option; otherwise, you cannot mount the host folder if you wanna control docker-compose.
Also, you can access the Secets area of Organization.
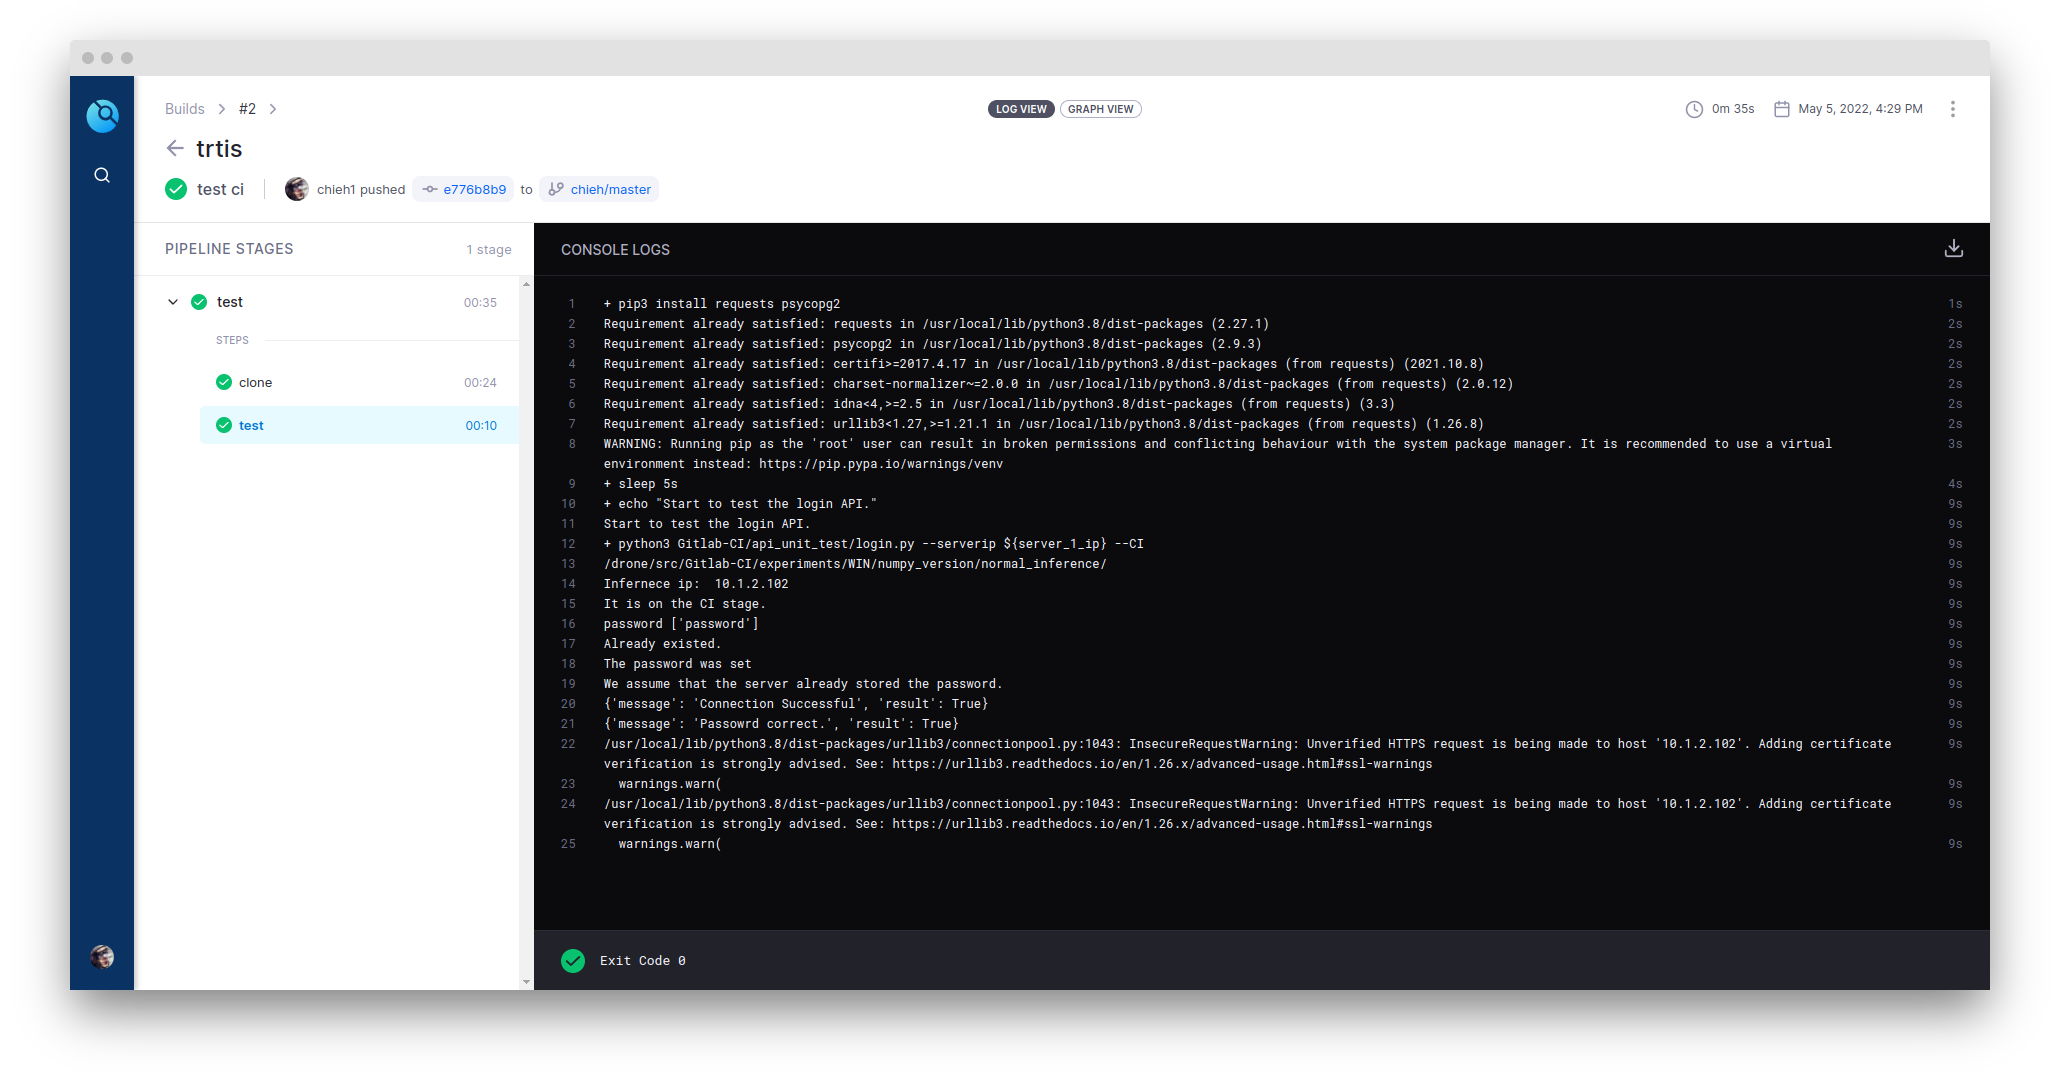
Start our first demo
Choose one repo and activate it:
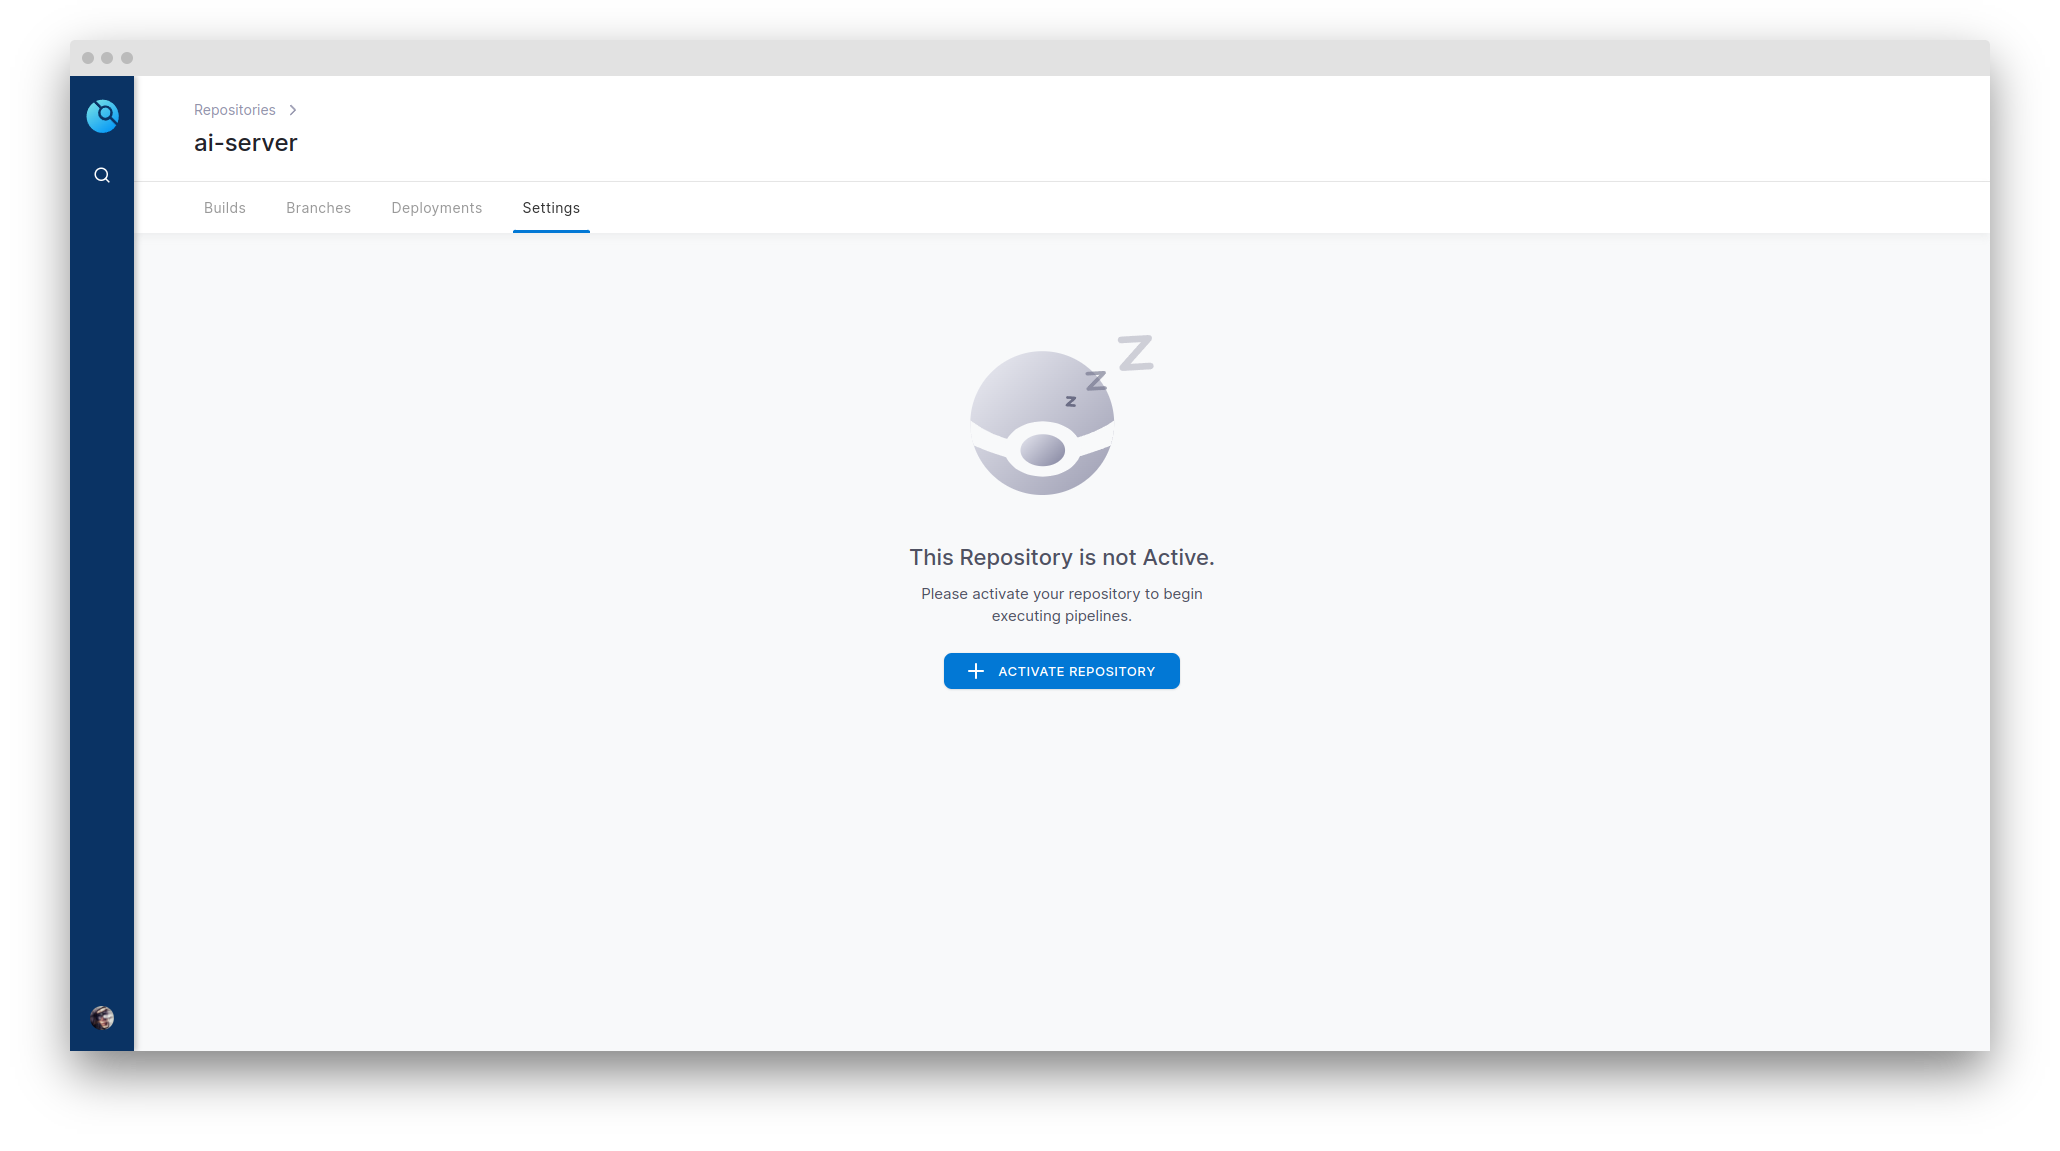
Then you will see this page:
Create a file named as .drone.yml
global-variables:
  debian_image: &debian_image ubuntu:latest
  environment: &default_environment
    server_ip: 10.1.2.102

kind: pipeline
type: docker
name: test

steps:
  - name: test
    image: *debian_image
    environment:
      <<: *default_environment
    commands:
      - pip3 install requests numpy
      - sleep 5s
      - echo "Start to test the login API."
      - python3 demo.py --serverip $${server_1_ip} --CI
    when:
      status: [ success, failure ]
      branch:
      - master

trigger:
  branch:
  - master
  event:
  - push

Note: If you dont have this image from Dockerhub, it will pull automatically.
Let me explain more about how to control different runner.
kind: pipeline
type: docker
name: test
Normally name is to specify the runner.
As we can see the env parameter of drone-runner - DRONE_RUNNER_NAME=my-first-runner, we define the runner name for each runner.
Basically if we dont define the name in the yml, it will randomly allocate to a runner.
In the steps, it contains several components below that you can set.
- name # 步驟名稱
- image # 指定鏡像
- commands # 指定在容器裡執行的命令
- detach # 分離pipeline步驟,次此步驟退出後,不會使pipeline失敗
- environment # 設置容器環境變量
- privileged # 設置容器是否擁有擴展權限
- pull # 拉取進行的策略
- volumes # 掛載卷
- settings # 指定插件的配置信息
Source: https://lework.github.io/2019/08/26/drone-Introduction/
Control docker-compose via docker image
kind: pipeline
type: docker
name: test

volumes:
  - name: docker_socket
    host:
      path: /var/run/docker.sock

steps:
  - name: Deploy-Triton
    image: docker/compose:alpine-1.29.2
    commands:
      - echo "Start to launch Triton MicroServices."
      - cd docker && docker-compose up -d
    volumes:
      - name: docker_socket
        path: /var/run/docker.sock

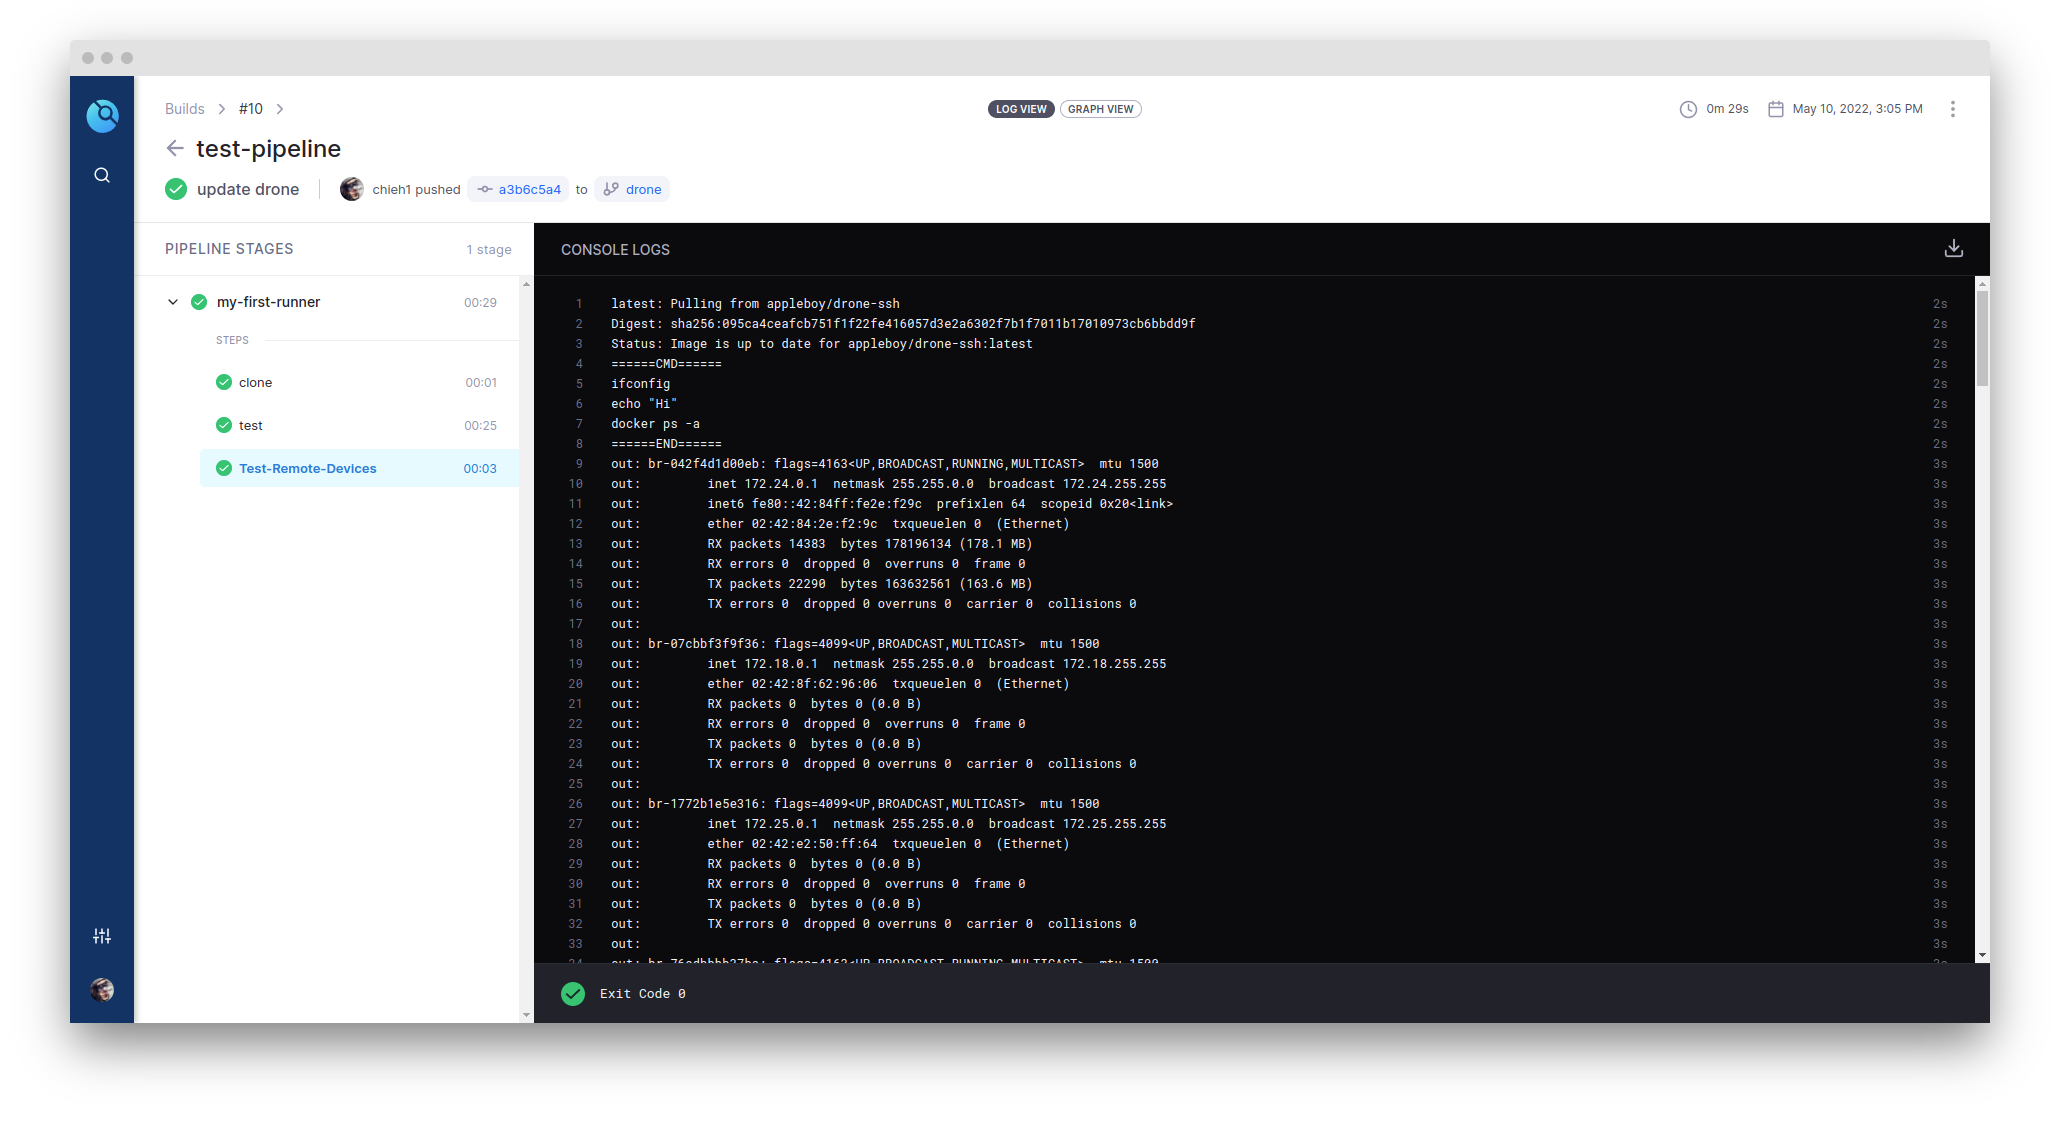
ssh login remote devices
I think most of situations that we need to login to remote devices for further use such as service deployments.
Hence, we can use appleboy/drone-ssh to achieve this goal.
Also, we can set our username and password on the secret area of Drone.
In the .yaml file, here is an example.
settings:
  host: (ip ex, 10.1.2.10)
  user:
    from_secret: A-username
  password:
    from_secret: A-password
  script:
    - ifconfig
    - echo "Hi"
    - docker ps -a
Set a variable and use it in the script/command area
Here is an example.
global-variables:
  debian_image: &debian_image ubuntu:latest
  environment: &default_environment
    server_ip: 10.1.2.102

kind: pipeline
type: docker
name: Test-stage

steps:
    image: *debian_image
    environment:
      <<: *default_environment
    commands:
      - python3 test.py --serverip $${server_ip}
    when:
      status: [ success ]
Send the Telegram notification via Drone
We can use the plugin of Drone to send the Telegram notification if our CICD is done. Also, we can send the documents or photos via this plugin.
Get the basic requirement from Telegram
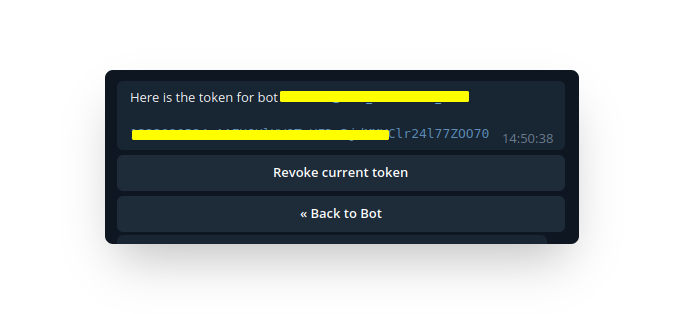
Before we start to do this, we need to get 2 parameters. one is bot token, and the other is chat_id (who).
Token: you can get it from BotFather
chat_id: you can take it from this way below.
curl -X POST "https://api.telegram.org/bot<your token>/getUpdates"
Or if you use python script, then here is a simple code.
import requests

_TOKEN = "(your token)"
url = f'https://api.telegram.org/bot{_TOKEN}/getUpdates'

r = requests.post(url,  verify =False).json()
Then you can find your ID from the response.
Set the yml file and let's test it!
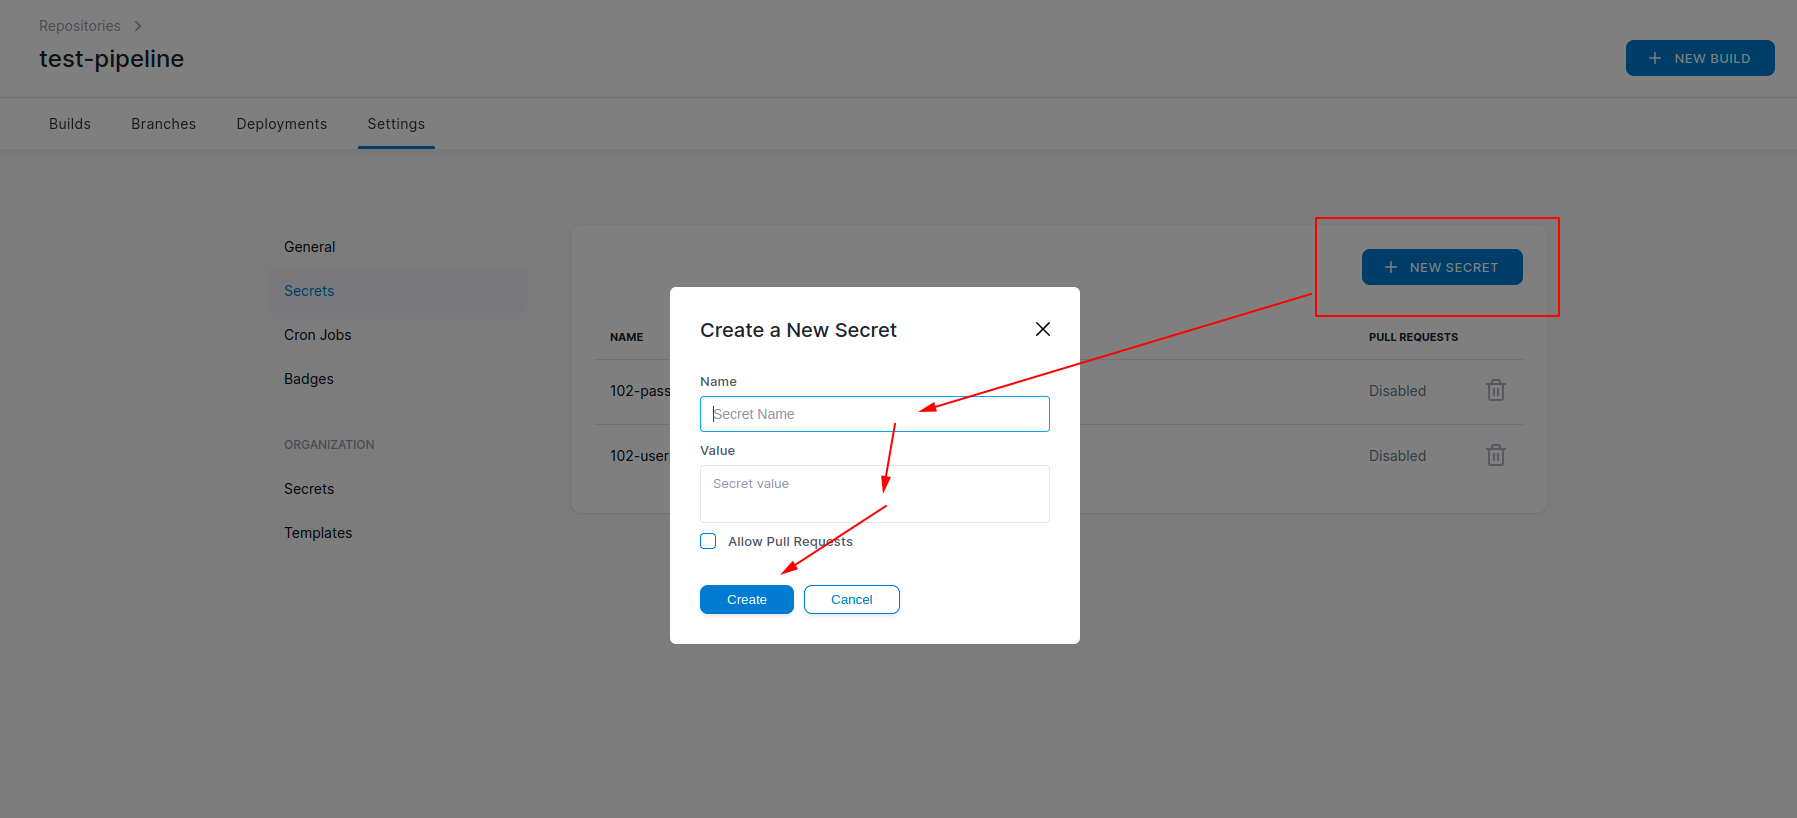
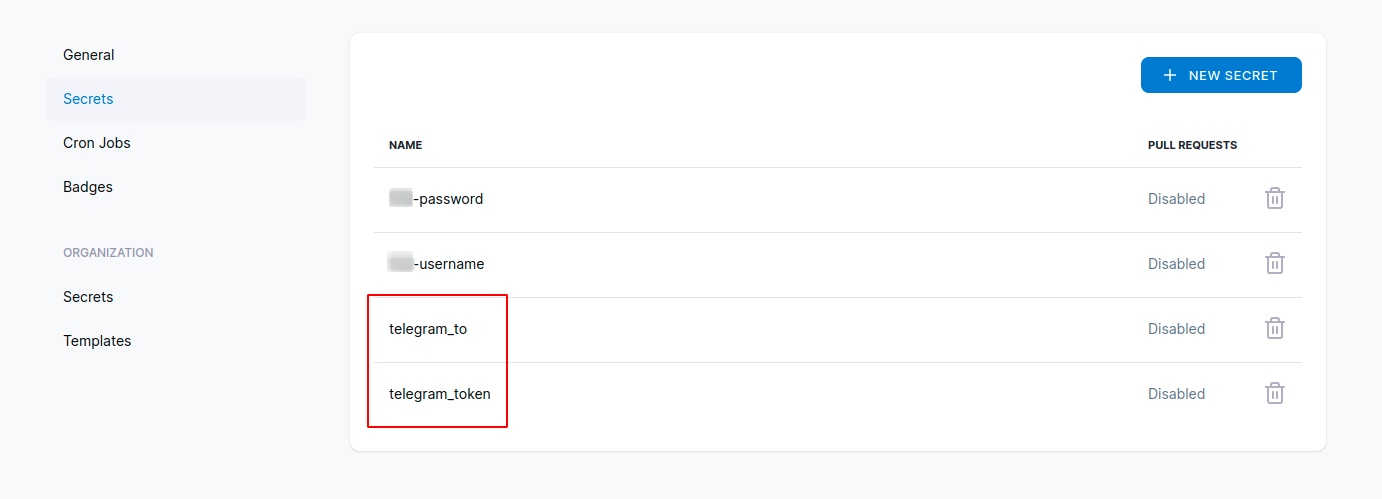
We need to set up the token and chat_id in the secret area of the Settings page first.
For example, I set the telegram_to and telegram_token.
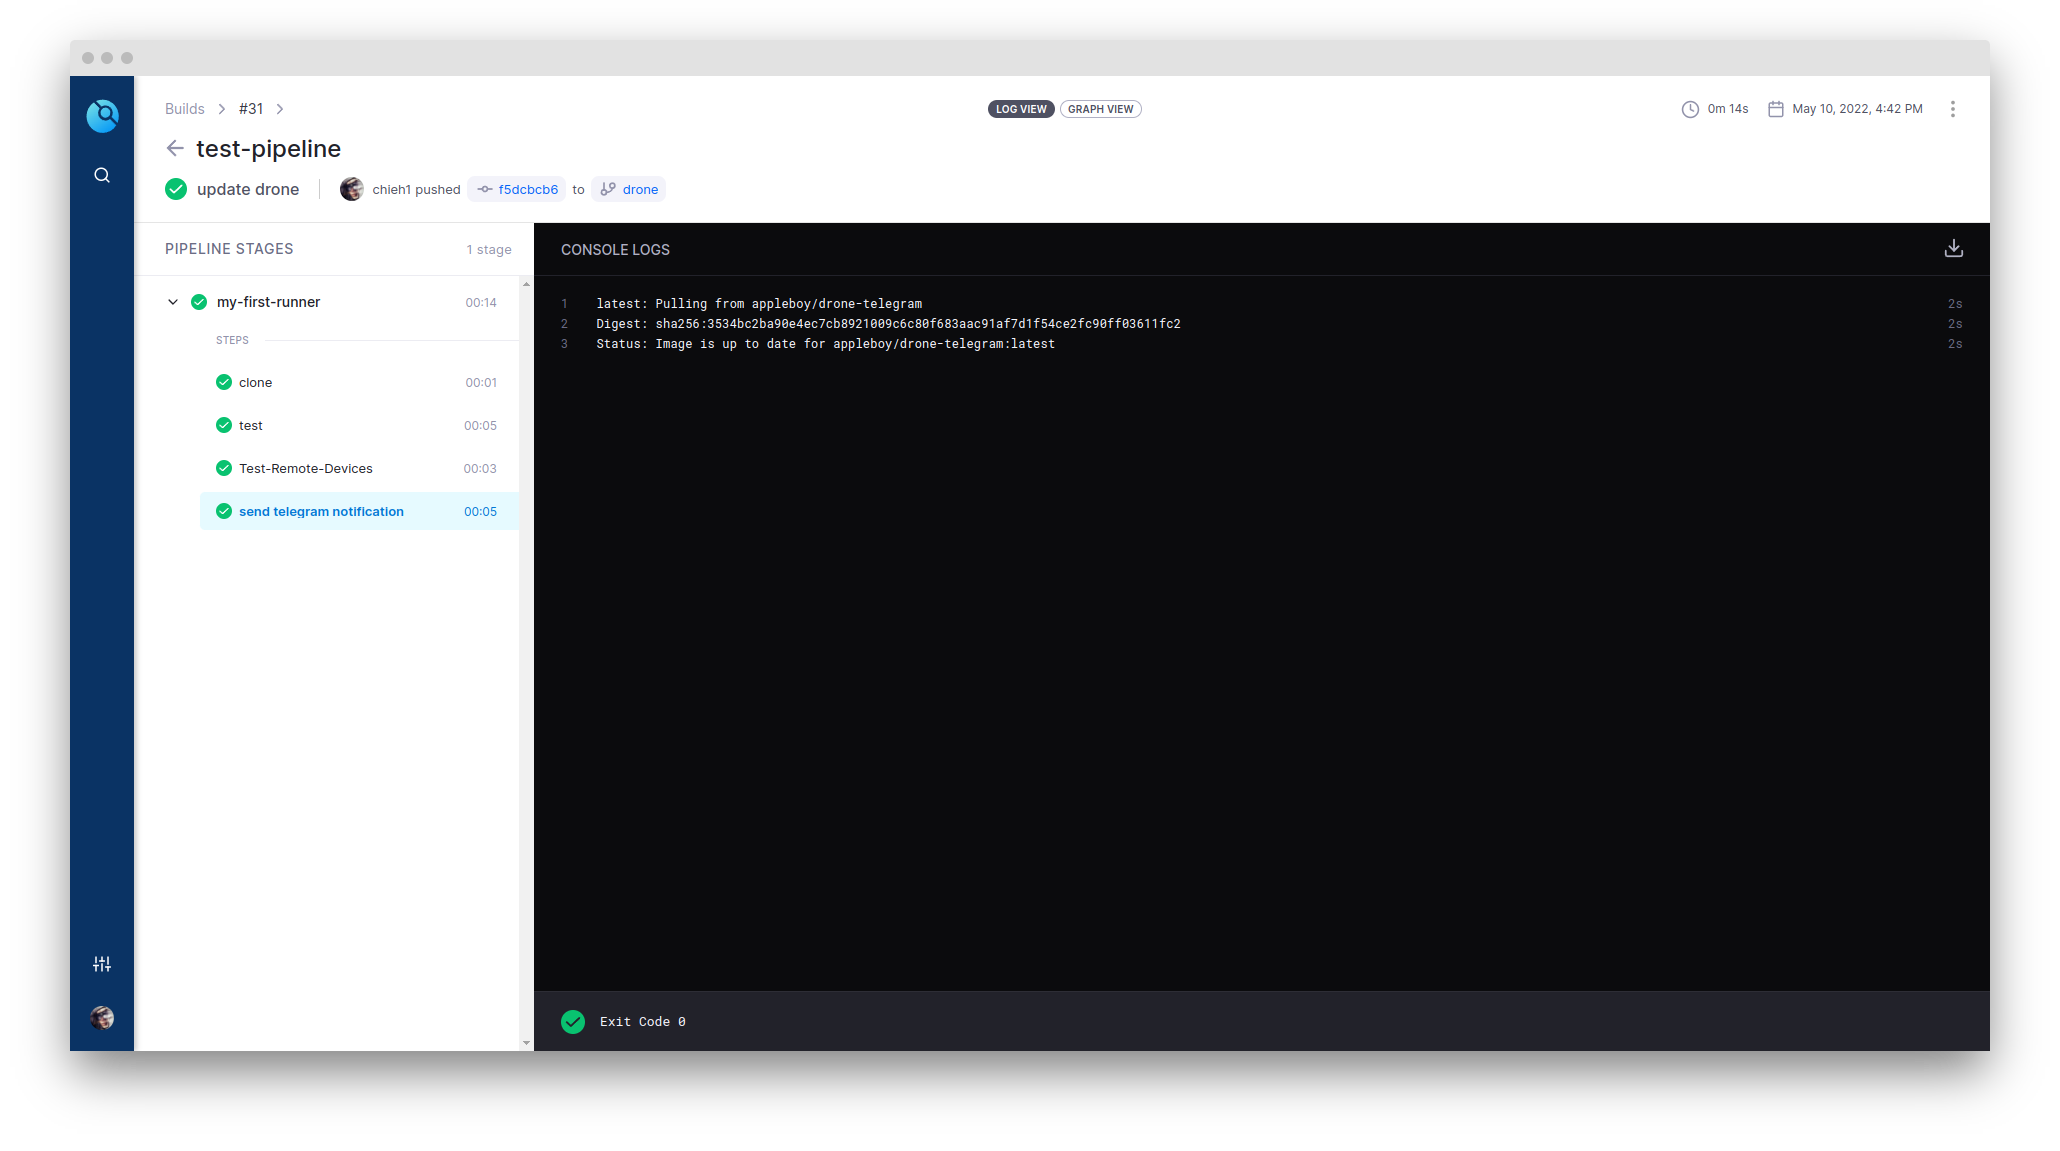
The yml file looks like below:
  - name: send telegram notification
    image: appleboy/drone-telegram
    # if you turn on this this option, you cannot put this section in the last one (step).
    # detach: true
    settings:
      token:
        from_secret: telegram_token
      to:
        from_secret: telegram_to
      photo:
       - test.png
       - t.jpg
      message: "test"
    when:
      status:
      - failure
Note: if you use detach, then do not put it in the last task. Otherwise, it will not work.
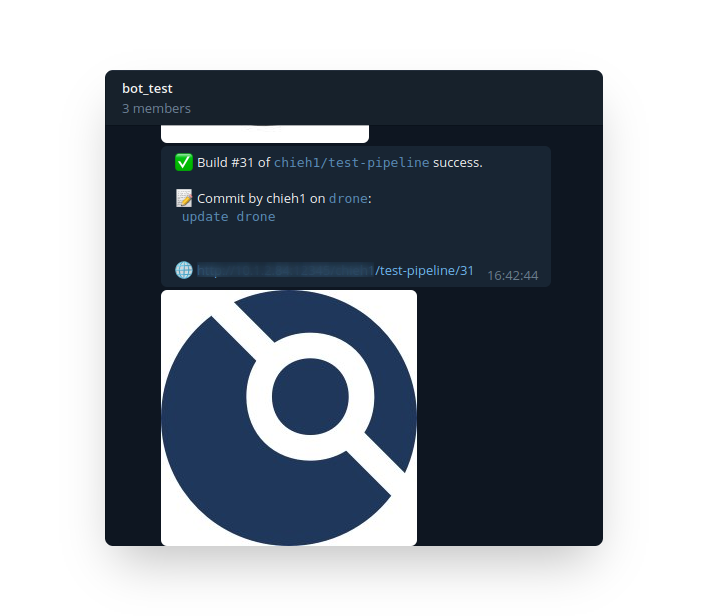
I have tested that it can work with sending the images and text at the same time. It also supports png and jpg format of images.
Reference:
Set a Windows runner
Please follow the instructions from here.
Download the Windows runner from here And unpack the binary. You can put it in anywhere.
You need to create a folder named as
DroneinC:\. And create a sub-folder named asdrone-runner-execin theC:\Drone.Please create a file at this location:
C:\Drone\drone-runner-exec\configthat we will put some parameters inside. In this config, please fill in this information:DRONE_RPC_PROTO=http
DRONE_RPC_HOST=10.1.2.102:8090
DRONE_RPC_SECRET=super-duper-secret
DRONE_RUNNER_NAME=win-runner
DRONE_LOG_FILE=C:\Drone\drone-runner-exec\log.txt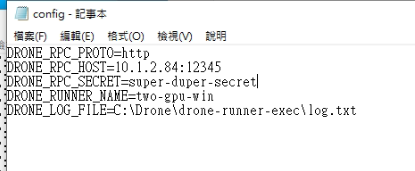
In the runner exec folder, please turn on a terminal.
$ ./drone-runner-exec service install
$ ./drone-runner-exec service start
Then we can check the
log.txtand you can see that it shows success.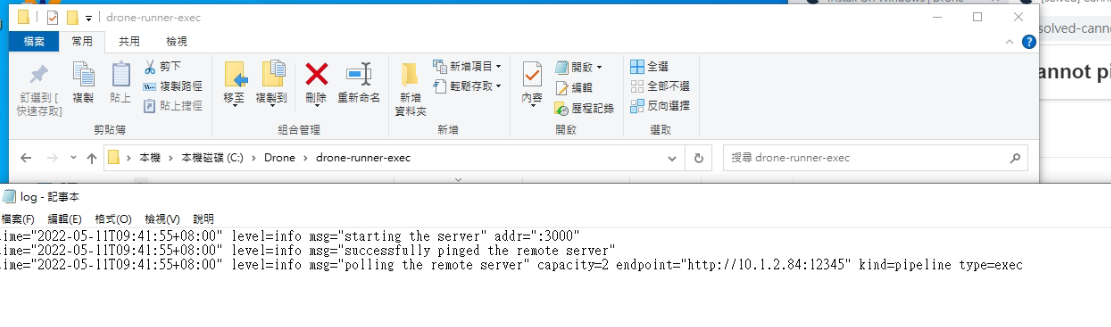
Troubleshooting
fatal: could not read Username for 'gitlab': terminal prompts disabled
Initialized empty Git repository in /drone/src/.git/
+ git fetch origin +refs/heads/drone:
fatal: could not read Username for 'http://10.1.2.110:5567': terminal prompts disabled
On the drone-server side, you need to set
DRONE_GIT_ALWAYS_AUTH=trueReference: https://discourse.drone.io/t/fatal-could-not-read-username-for/6198